This post has been updated, please see 9.1.2 directions here!
Ghidra, an NSA tool recently published by the NSA is a software “reverse engineering (SRE) suite of tools developed by NSA's Research Directorate in support of the Cybersecurity mission." I decided to do this tutorial because there is (at this time) limited English directions for the amateur available.
Ghidra, an NSA tool recently published by the NSA is a software “reverse engineering (SRE) suite of tools developed by NSA's Research Directorate in support of the Cybersecurity mission." I decided to do this tutorial because there is (at this time) limited English directions for the amateur available.
Now, this tool is open-source and hosted on Github for transparency. The source code is not kept a secret, but many people are probably skeptical of installing NSA applications on their machines anyway. With the occurrence of the Shadow brokers and the inevitable future exposure of NSA applications, I do not think this is the last time an NSA application will be made public for the "greater good". So, let's benefit, and review the software installation for Windows 10 below.
I have added some screenshots to the default Ghidra installation steps to help those who want to streamline deployment.
- Extract the JDK:
- Right-click on the zip file and click Extract All...

- Click Extract (to a location you can find, like “Desktop”)
- Open Environment Variables window
- Windows 10: Right-click on Windows start button, and click System

- Click Advanced system settings

- Click Environment variables

- Add the JDK bin directory to the PATH variable:
- Under System variables, highlight Path and click Edit.
- At the end of the the Variable value field, add a semicolon followed by
\bin

- Once complete, launch ghidraRun.bat

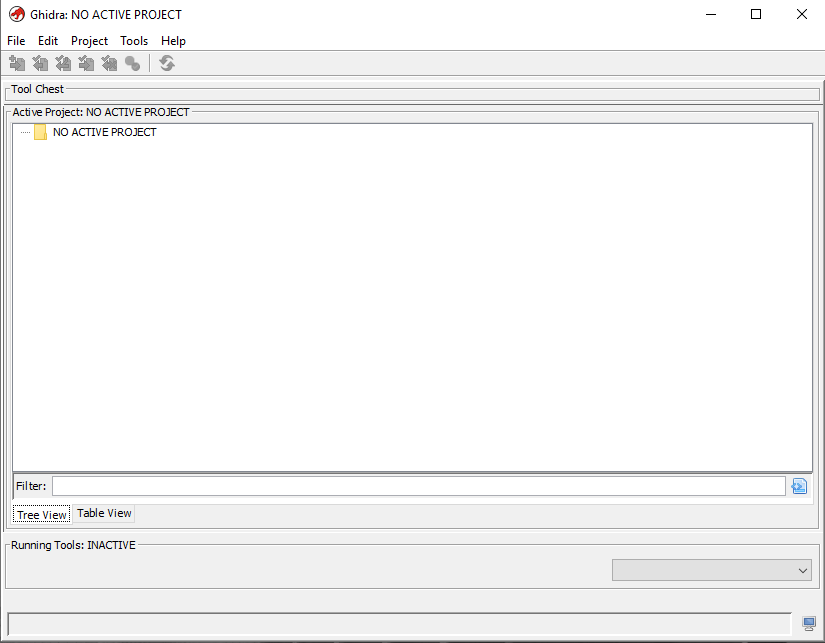
- A cmd prompt window will open, it should not ask for a Java runtime location. If it does, ensure your path is set in the environment variable portion of the installation. Once the cmd box closes, you should see:

- Followed by a new project window.
- Enjoy!
Comments
Post a Comment